Most of us these days have little room to really go to town with as much plant colour and life as we’d like – perhaps you’ve already got too many plants at ground level, or your garden’s not that big to start with? Well, the solution is… to plant upwards!
This way you make the most of your bare surfaces and maximise your garden’s potential as a colourful haven to retreat to, and create an inviting floral treat for pollinators and other wildlife. And if you fancy it you can have your own mini allotment by growing all manner of edibles up the wall!
Flower pouches and tower planting systems allow us to use our imagination to create living walls and cascading displays. These are specially made features, which can be a little expensive to buy, but you can also make your own and spend very little on getting the right look.
Upcycle an old pallet into a rustic wall planter, or buy a really wall-hanging shoe organiser and fill it with pockets of plants. It’s that easy!
Choosing the right spot
Most of the plants you choose, particularly the edible ones, will appreciate a sunny spot, so make sure the wall you’re covering catches plenty of rays during the day.
Alternatively, if you’ve a bare shady wall, plant it up with shade-loving ferns, mosses and heucheras.
You need to think about how you are going to water your wall planters, because most will need regular irrigation in summer. Everything growing in them will need watering once or twice a day in dry spells. If you don’t have a lot of time on your hands try an automatic irrigation system.
Large all-singing, all-dancing systems are expensive, so try small holiday watering devices, which cost a lot less. These can be inserted into compost, topped up with water and left for a few days. The simplest way of all to feed your plants is to mix in controlled-release fertiliser at planting time, but you may have to apply liquid fertiliser too.
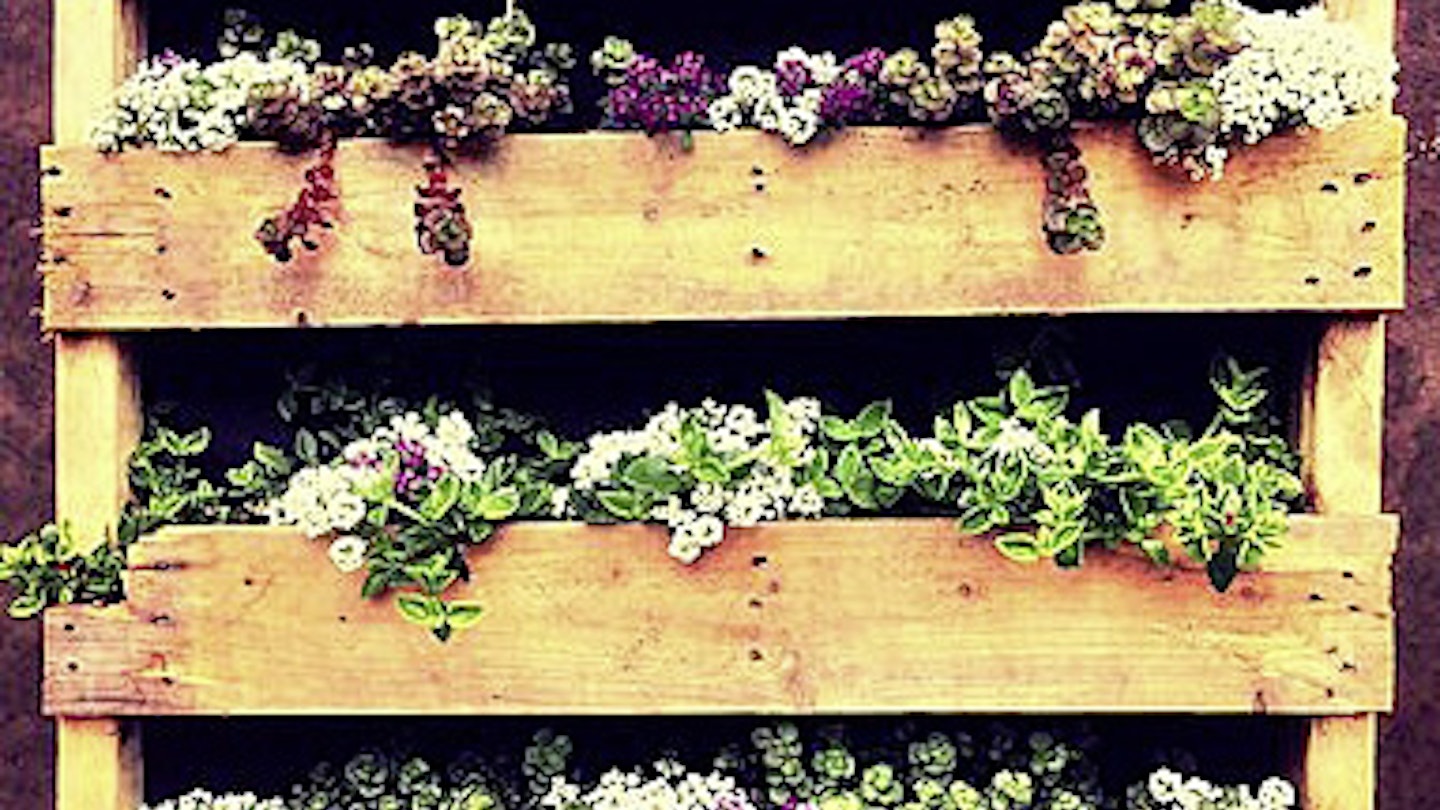
Repurpose pallets
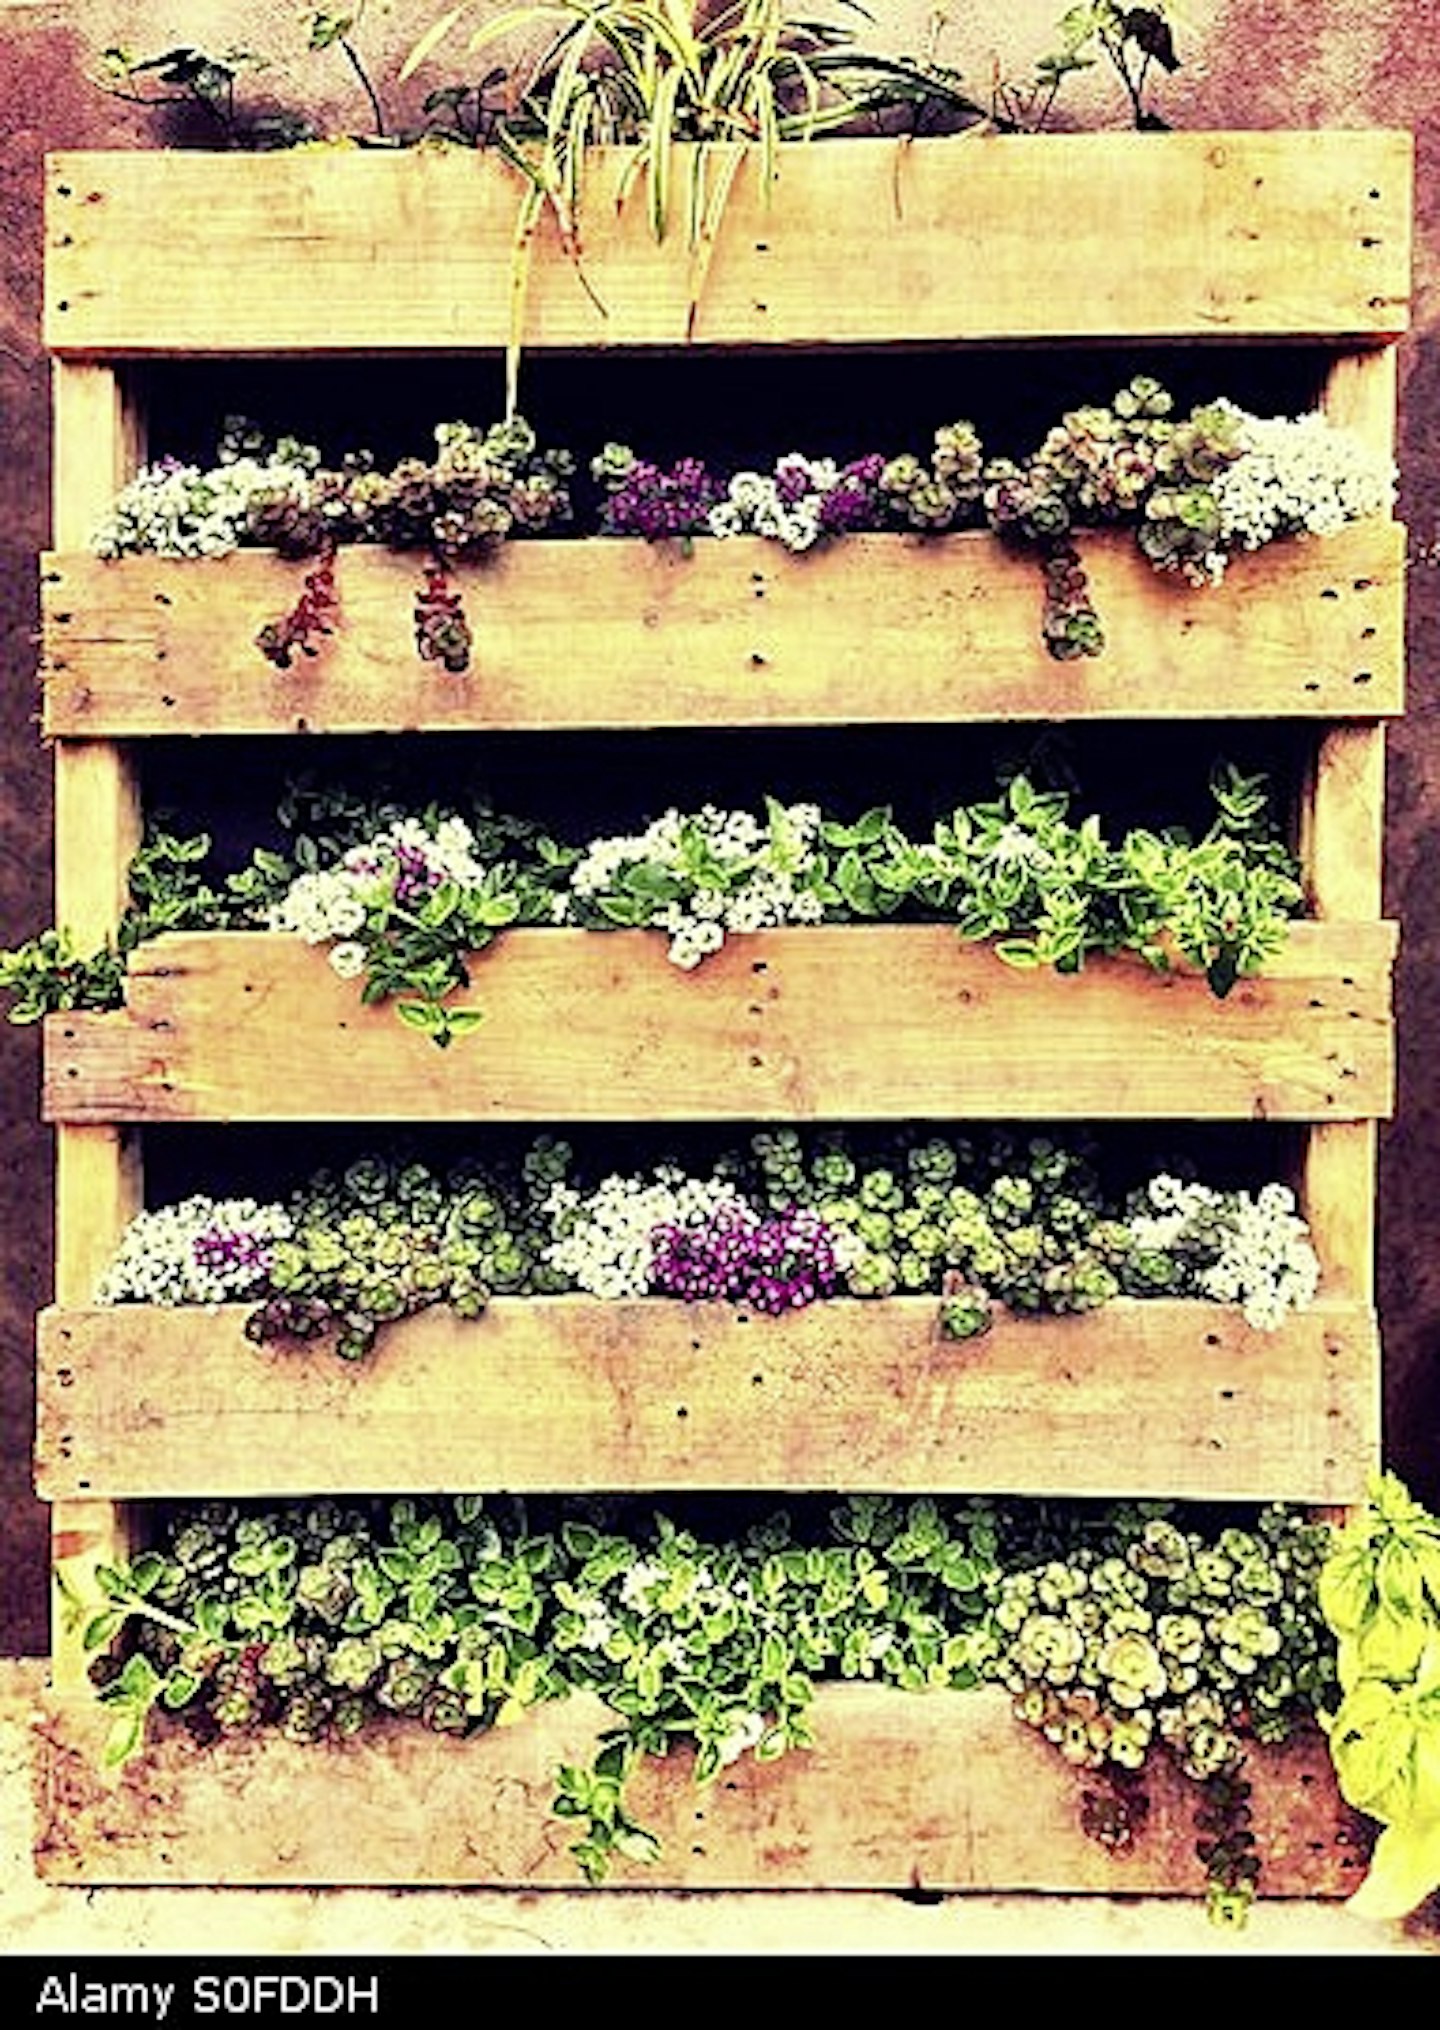
There seems to be no end of pallets going for free at garden centres, supermarkets and builder’s yards. They make the perfect wall planters as the essential structure is all there and it only takes a little work to make it fit for planting.
Keep the rustic brown look and gloss it with wood treatment, or go all out and paint your pallets bright shades of red or blue.
Next, using landscape fabric from DIY stores, line the back of it and nail or staple it tightly. Create planting pockets with more landscape fabric inside the centre of the pallet, then simply fill with a good quality compost and start planting.
It’s best to start with lots of small plants so they can quickly mesh together and cover the container. You could also cut holes through the fabric and plant through this using small plug plants. With care you will be able to sit one on top of the other on a wall but think ‘safety’ and be sure everything is secure and that any visiting children realise this is not a climbing frame!
Try pouch planting
Ready-made pouch planters are available from garden centres. These often have small side holes marked out ready for your plants or you make your own with an old hanging shoe holder, as long as the fabric is relatively weatherproof.
Growing bags make giant flower pouches if you have strong supports, and if you’re handy with a needle and thread you can make your own pouches out of woven, plastic landscape fabric to suit the size you need. Rustic burlap is another alternative.
Simply fill each pocket with compost, making sure there are holes in the ends of each one. Tuck some plants into side holes, too, for a denser look. If there’s room, it may be simpler to plant the whole plant in its pot into each pocket, which means you can chop and change where things go and replant more easily as you wish.
Planting in your wall
If you’re lucky enough to have stone walls make the most of them by tucking in creeping plants in gaps. This way you can really pack the plants in to your small space, all the while creating an attractive naturalistic look.
Aubrieta, creeping thyme, succulents and saxifrages are all perfect examples to try, as well as garden centre alpines. Or go for a native ivy-leaved toadflax for a ‘countryside wall’ look. Using tiny plug plants, remove most of the compost from the plant and tuck it in tightly to a crevice. Water in, add a little gravel or grit if you can, and leave them be. Some plants will love their new situation, and some may not – you won’t know until you try!
Hang it all!
It’s a common practice over in the Mediterranean to have containers on vertical surfaces, you’ve probably seen pots of bright geraniums in terracotta or ceramic planters wire-fastened to lovely old walls, and it’s seen a lot in the UK, too. It’s the perfect way to plant upwards!
Remember to water these pots frequently, as in a sunny spot water will drain out of them all too quickly. Terracotta can get too cold in winter and crack, so for a more weatherproof option, get creative with some cleaned out tin cans, wire-fastening them to a wall or unsightly fence.
Use an outdoor water and rust resistant spray paint to perk them up a bit, and add drainage holes. The larger the tin can the better, to give each plant sufficient root space, although succulents and sedums need less space.
For alpines, add a little grit or gravel to the planter, so they remain in well-draining soil.
PICK OF THE PLANTS for vertical gardens
Three perky perennials
Perennials are generally low maintenance. You can enjoy watching their growth and yearly flowering over the years, as they will create the picture perfect tumbling wall display. Try these easy-grow, colourful evergreens.
Sedum ‘Angelina’
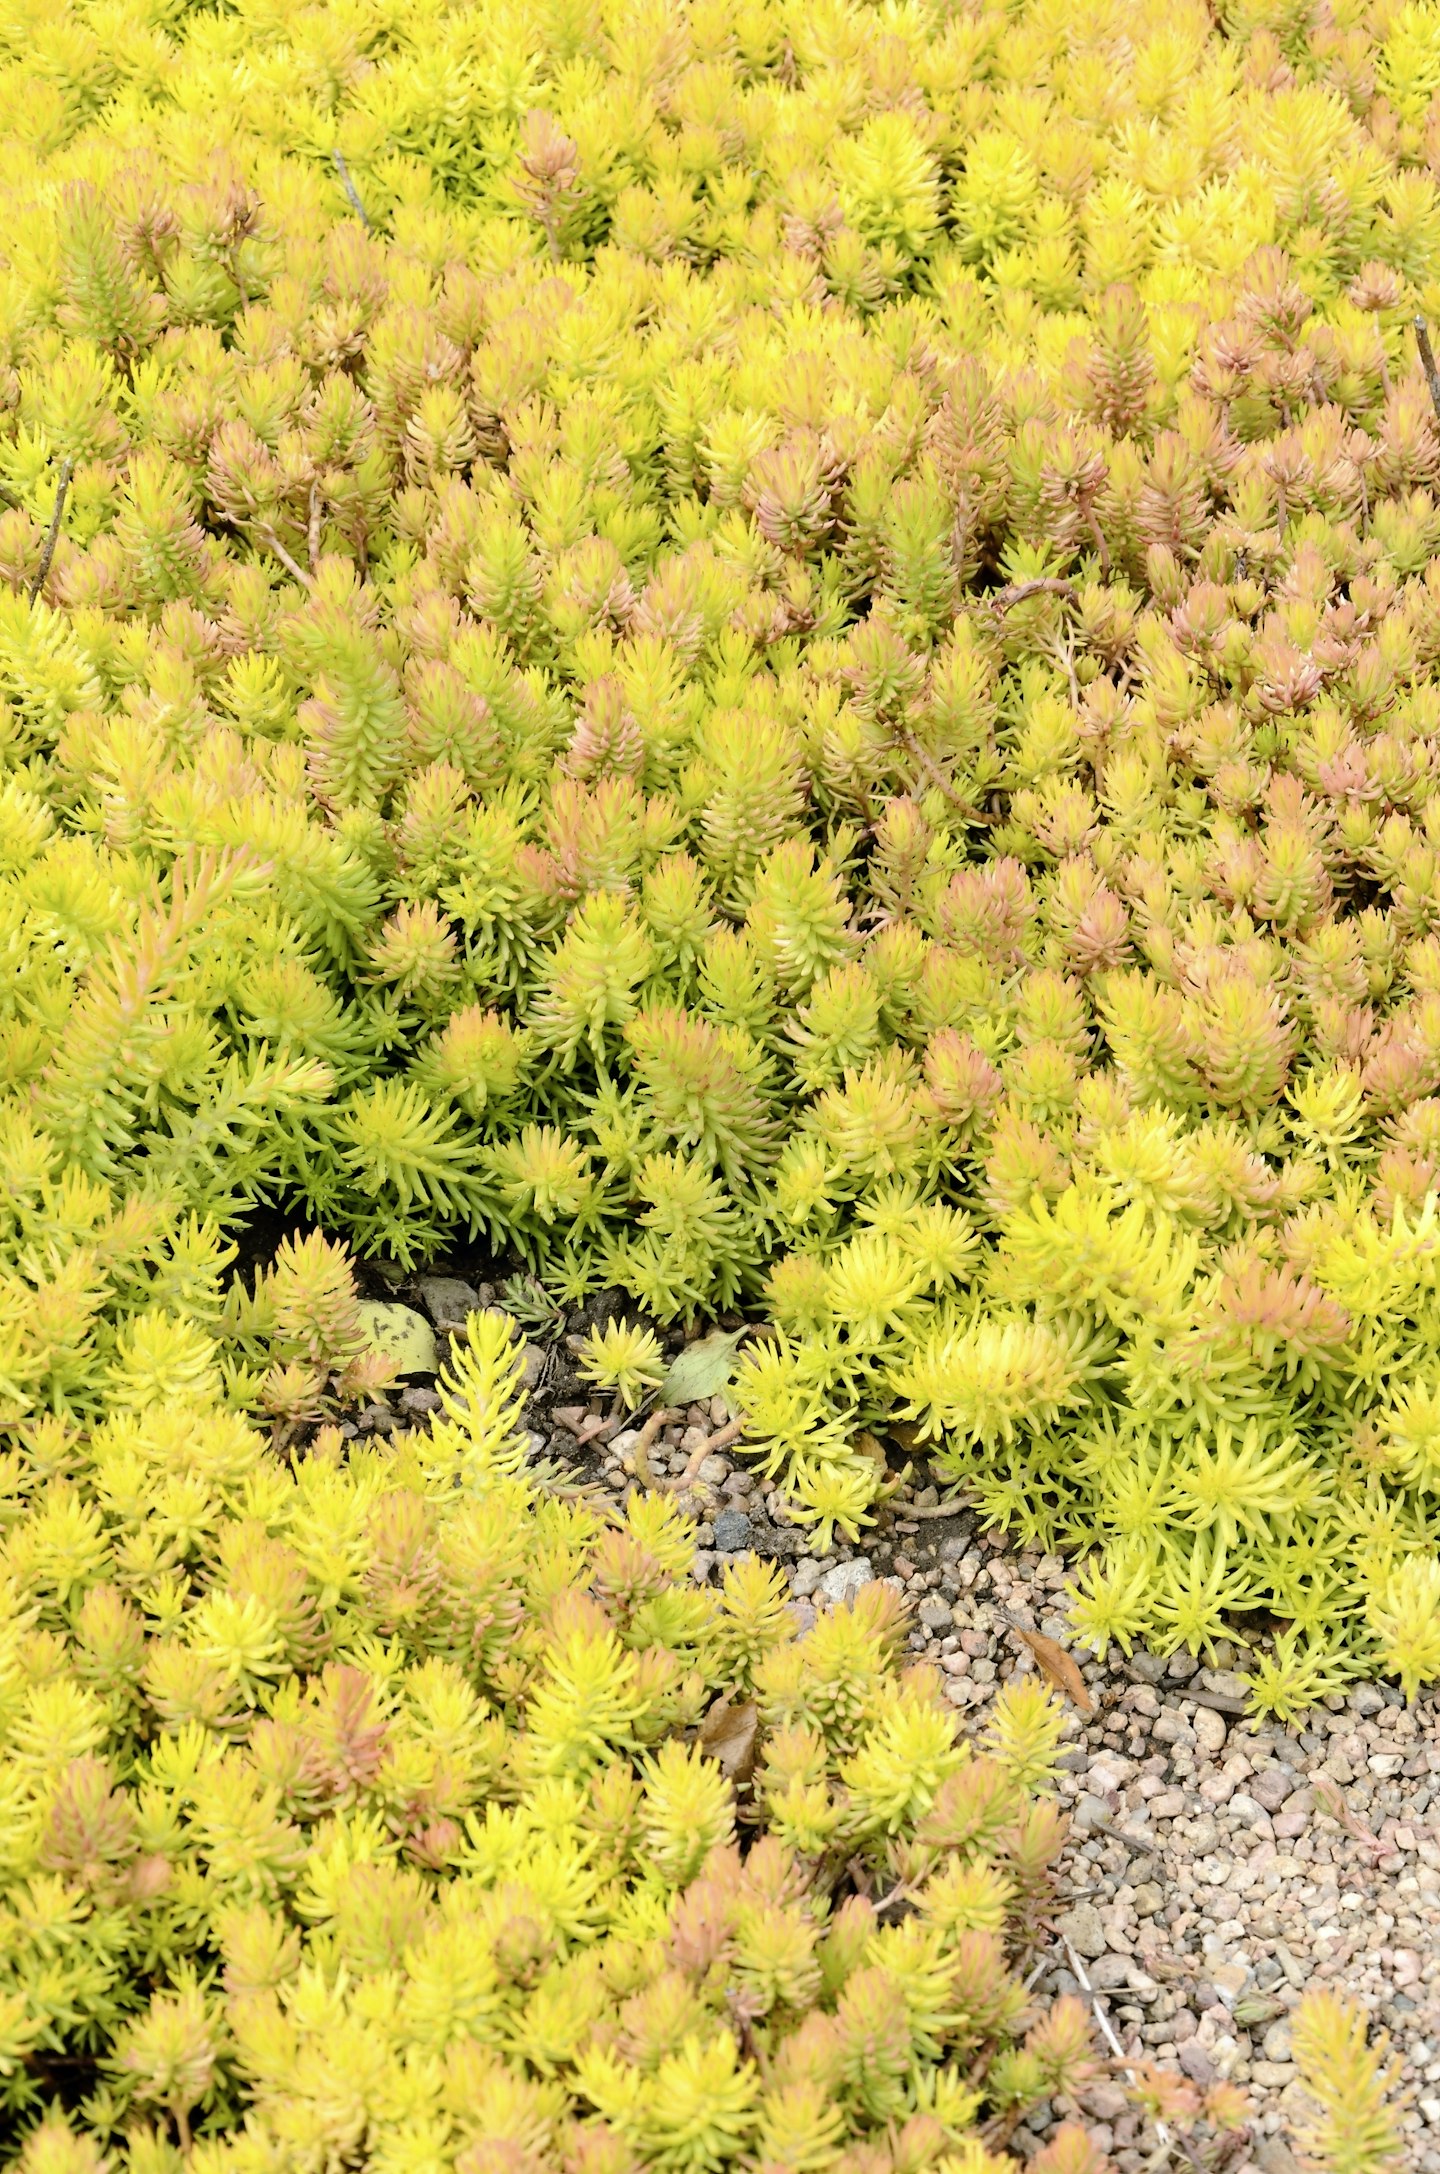
This creeping sedum has bright foliage in lemon and lime shades – more lime in shade. It is vigorous and easy to grow, tumbling from the container.
Heucherella ‘Sunrise Falls’
This lively trailer has leaves in lime green with russet streaks. It produces stems with miniature plants on the ends to produce a curtain of colour.
Vinca minor
This is the most dramatic of the many periwinkles and has trailing stems of rich green leaves with a rich, butter yellow centre, plus pretty blue flowers.
Best for bedding
Using annual bedding affords you a lot of choice and vivid colour, plus you can change up the contents of your planter regularly to coincide with the seasons.
Bidens
Now available in orange and well as the usual yellow, these ferny leaved plants have slender stems and masses of flowers all summer
Lobelia
These delicate plants are available in bushy and trailing forms in a range of bright colours including ruby red, white and various blues
Pansies
Although mainly bushy, these will produce long stems in time. They will flower all summer if they are regularly deadheaded
Easy edibles
Make sure the growing space is big enough for the roots of your plants. For example, tomatoes are deep-rooted and need a deeper 20 – 30cm space to grow, whereas lettuce, beans and beetroot will thrive in just 15cm.
Try fashioning the landscape fabric in your pallet deeply to suit deeper-rooting plants.
Red lettuce
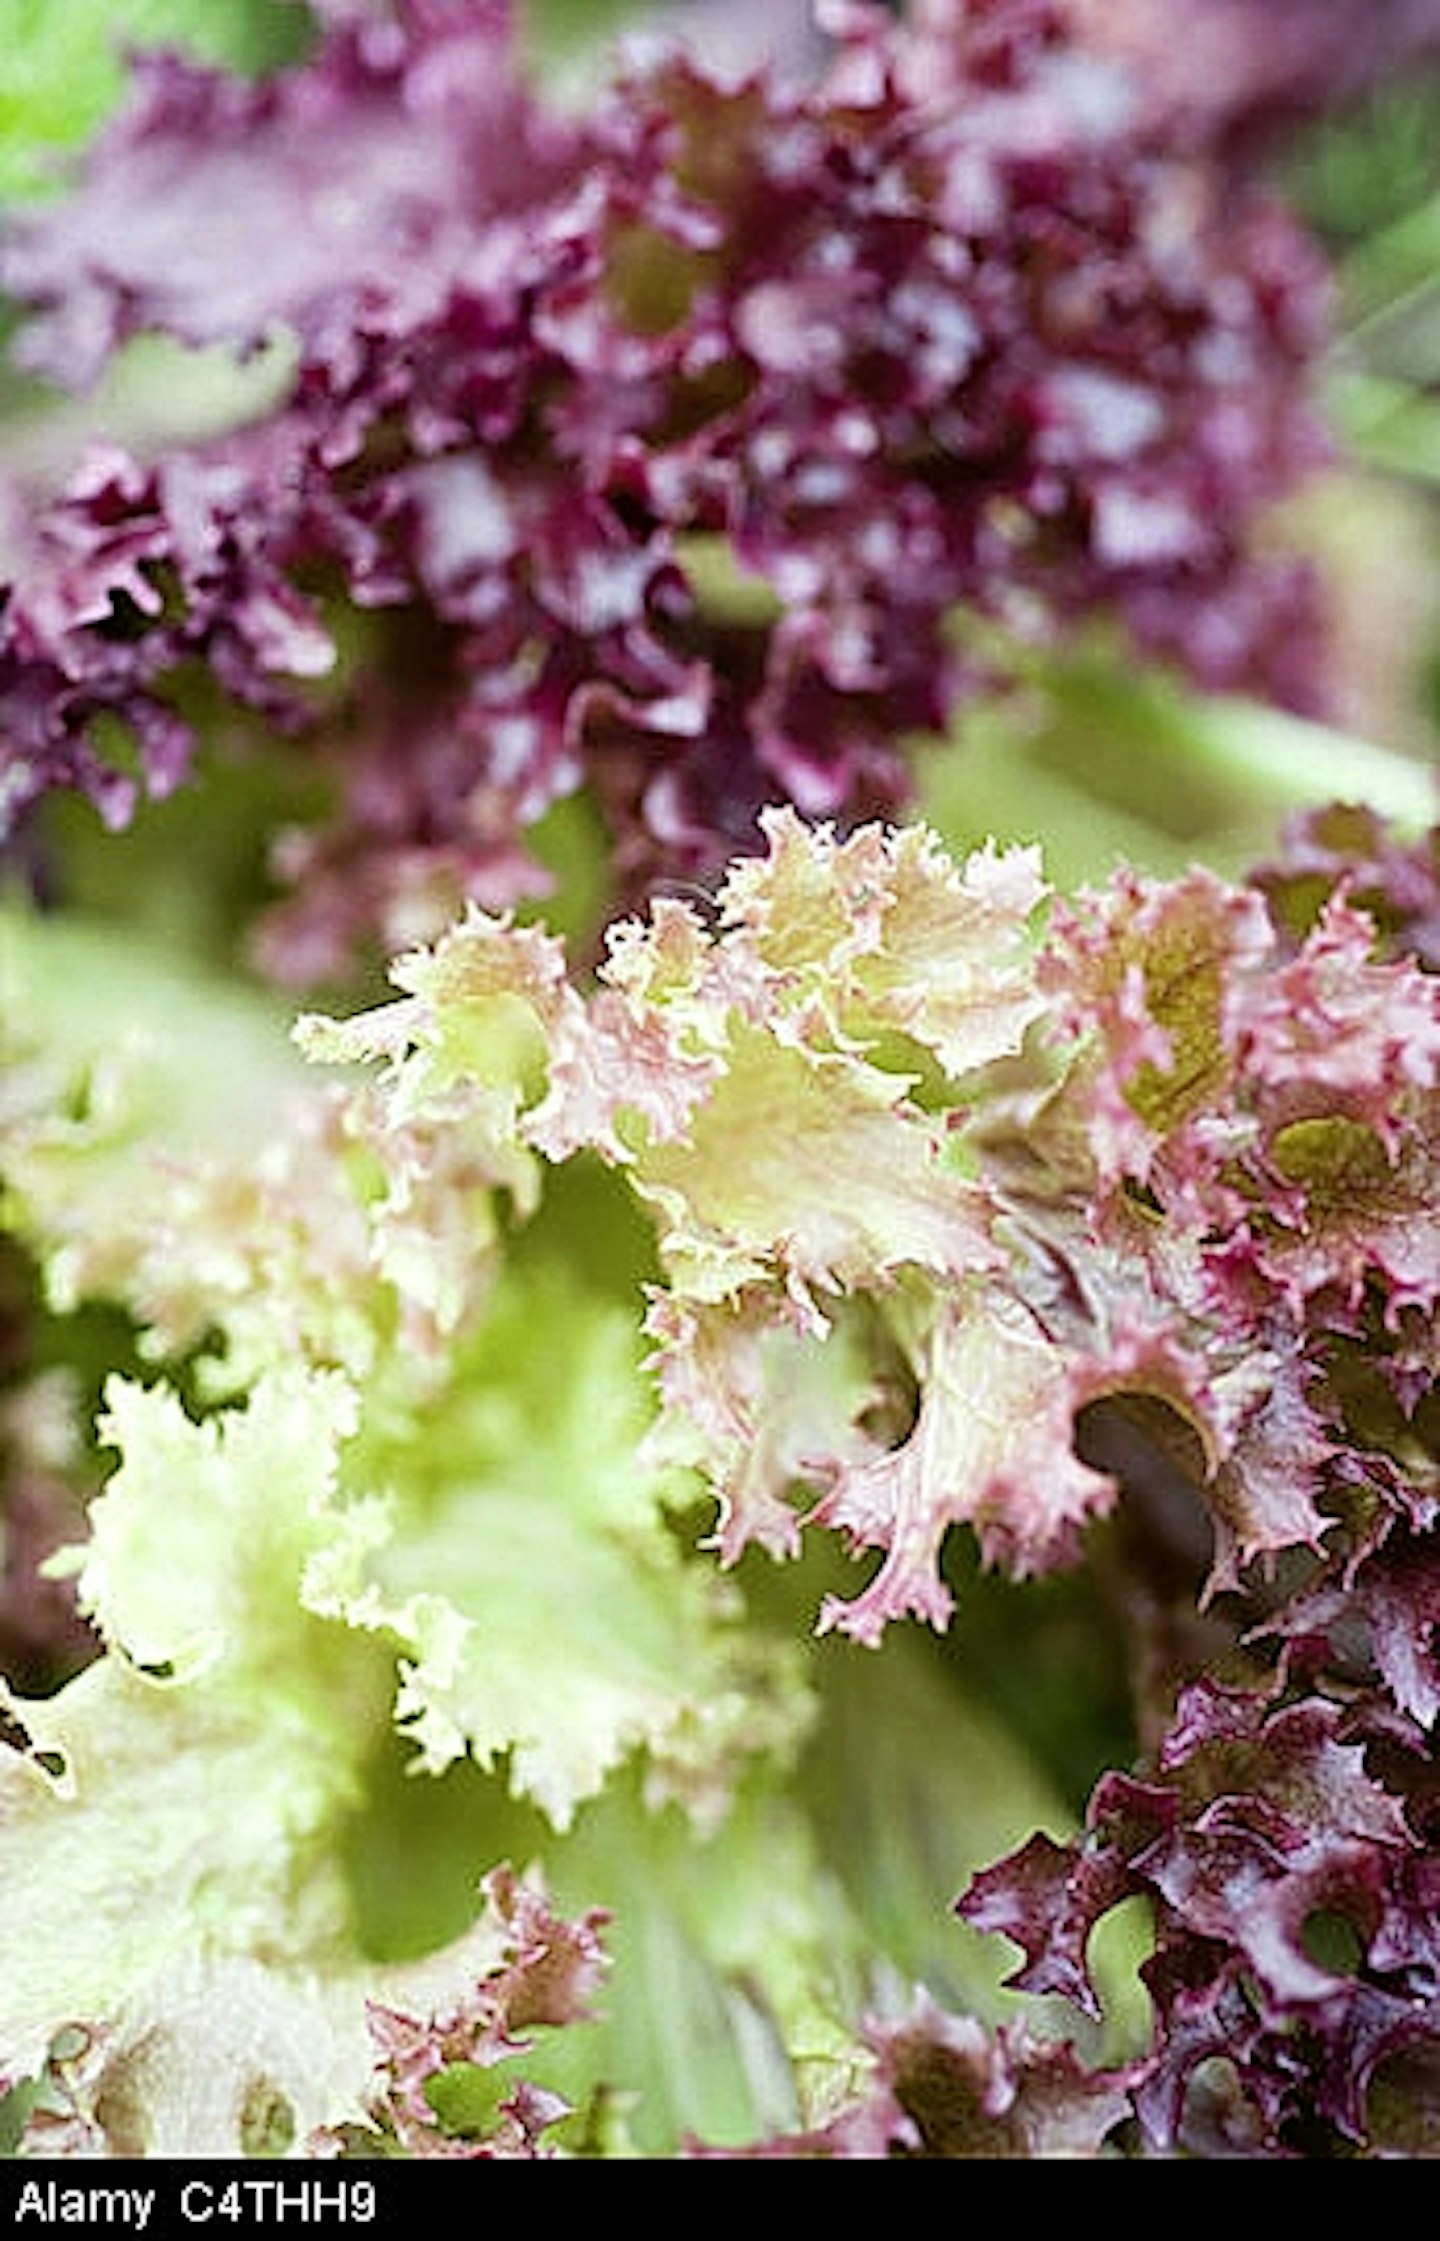
Choose loose-leaf varieties that are harvested a bit at a time and not cut in one harvest. Add a bit of zingy colour with lollo rosso
Watercress
Either grow from seed or root leafy stems. It has a creeping habit that cascades from containers. It doesn’t need to grow in water but needs plenty of it
Tomatoes
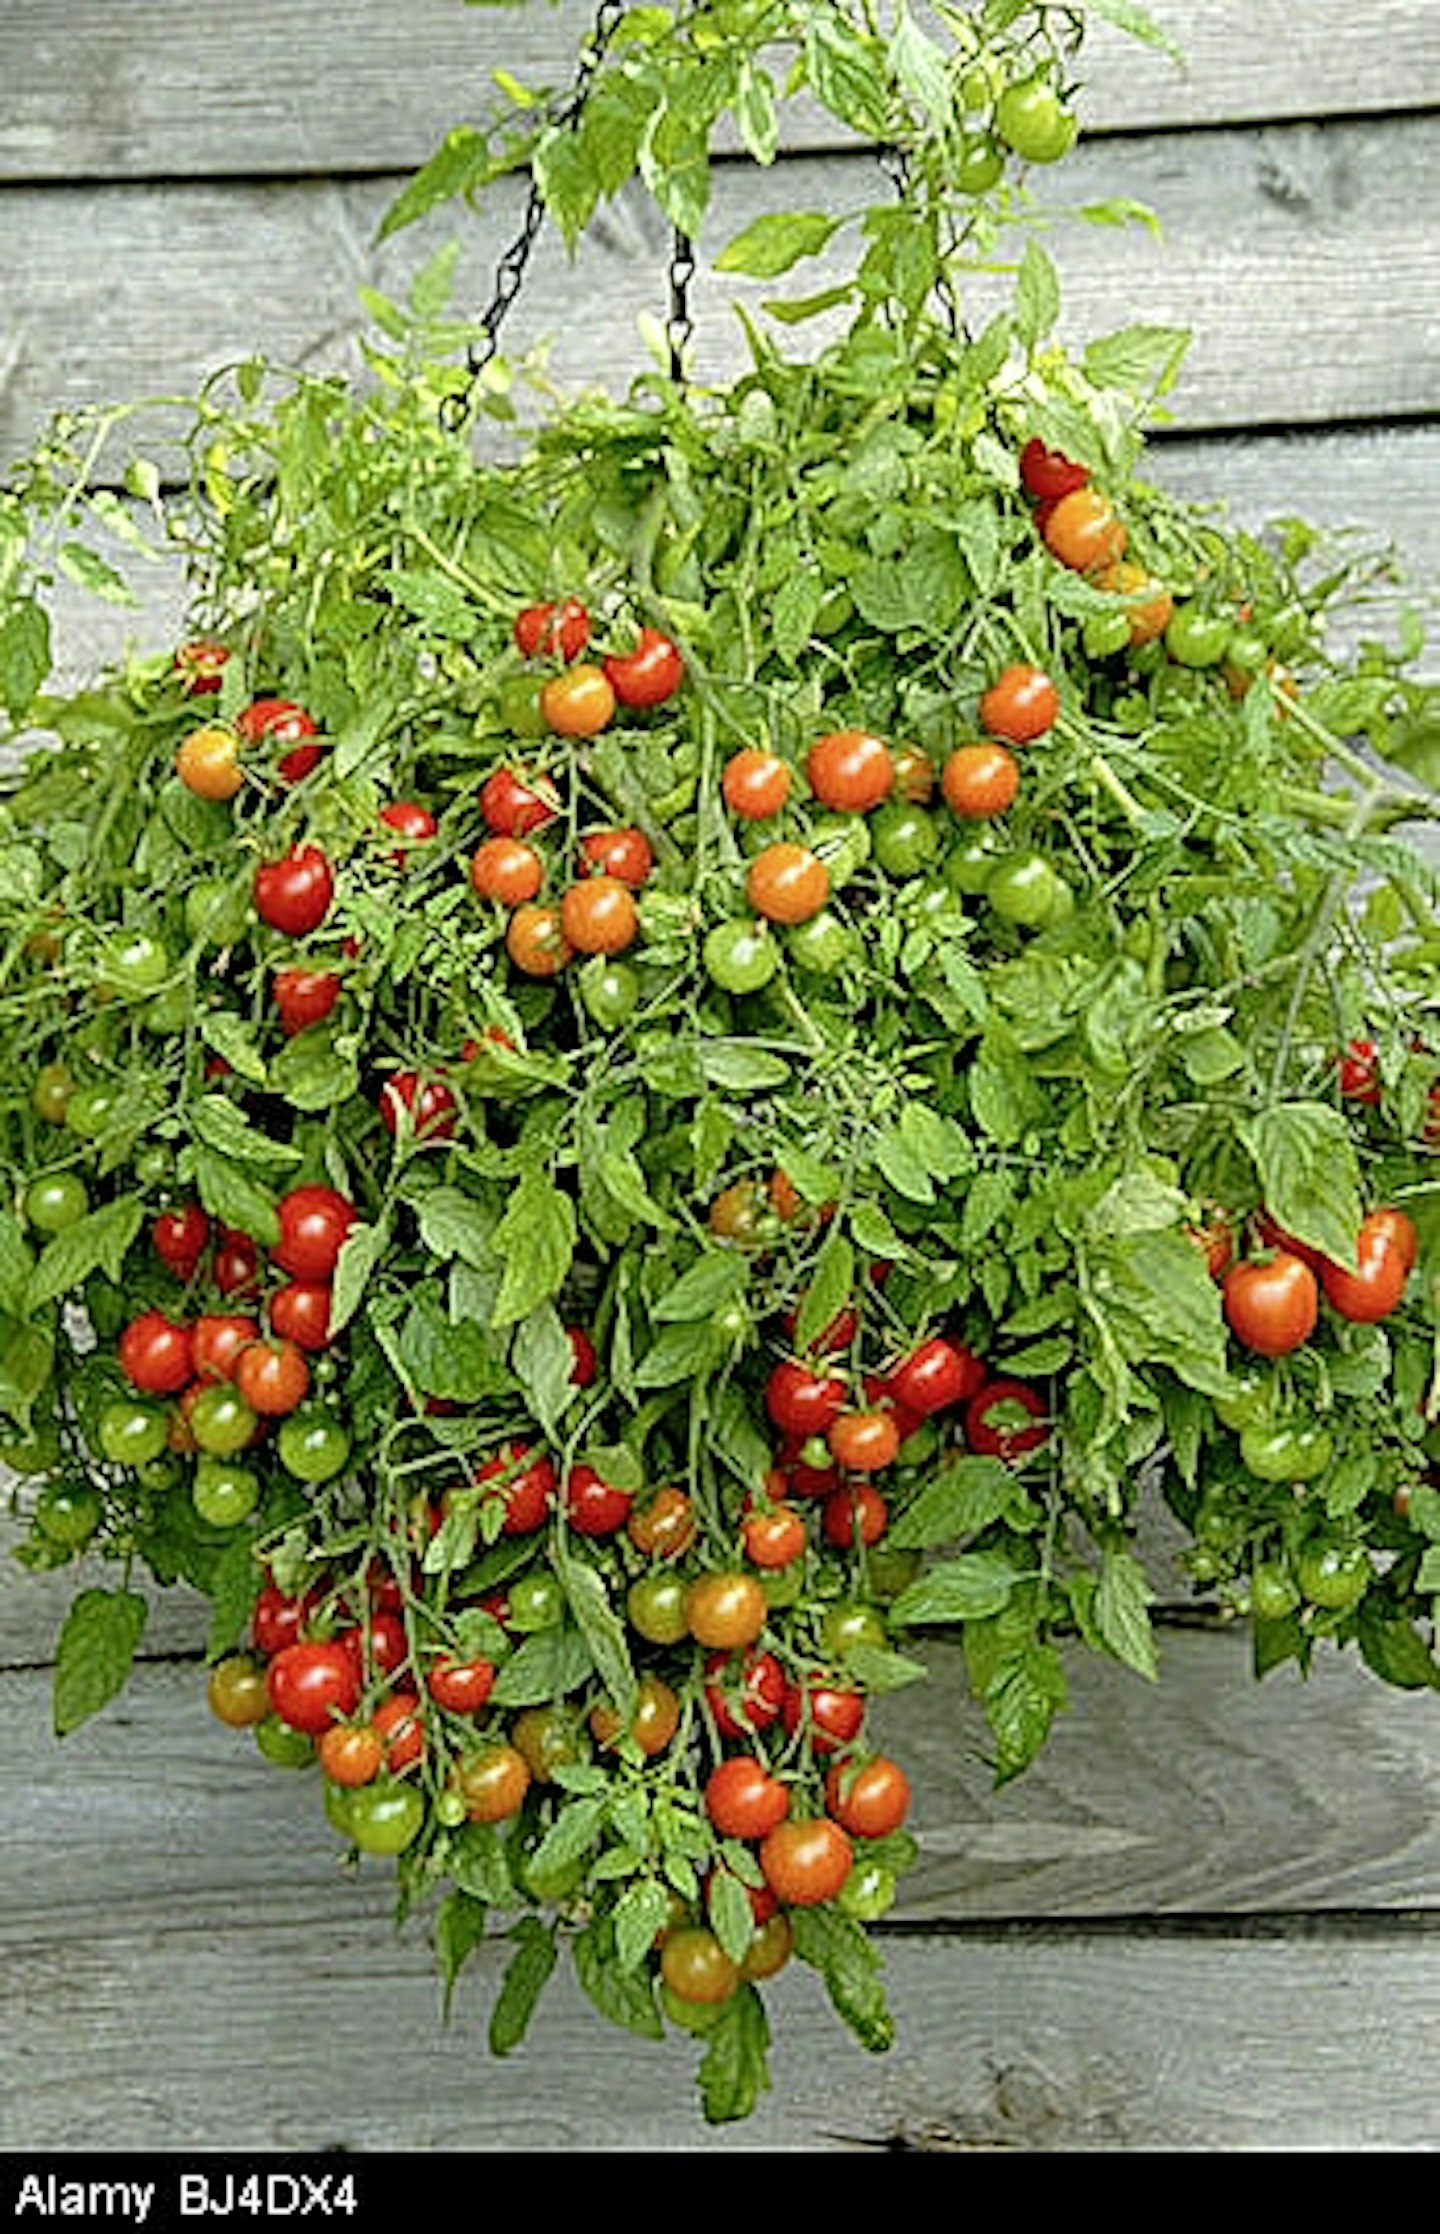
Compact or trailing varieties such as ‘Tumbling Tom’ produce lots of fruits on plants that bush out naturally